
Why Every Baker Should Learn This Skill
Kneading dough by hand is one of the oldest skills in baking. Long before stand mixers and dough hooks, bakers relied on their palms, knuckles, and a floured countertop to turn a shaggy mix of flour and water into smooth, elastic dough. Today, with a KitchenAid sitting on nearly every kitchen counter, hand kneading might seem old-fashioned. It isn’t.
Learning how to knead dough by hand gives you something no machine can: direct feedback. You feel the dough change under your hands. You notice when it goes from sticky and lumpy to smooth and springy. That feedback teaches you more about bread, pizza, and roti than any recipe card ever will.
This guide walks you through the full process, step by step. You will learn what kneading actually does to dough, how long it takes, what tools help, and how to tell when the dough has been kneaded enough. We will also cover variations for vegan and gluten free doughs, common mistakes, and a few tricks that professional bakers use but rarely share.
By the end, you will know how to knead dough by hand with confidence, whether you are making a rustic loaf, a stretchy pizza base, or soft roti for dinner.
Key Benefits of Kneading Dough by Hand
Kneading dough by hand offers more than nostalgia. It brings real, practical advantages.
You develop better dough control. When you knead by hand, you feel exactly how the dough responds. A stand mixer cannot tell you when the texture of the dough shifts from tacky to silky. Your hands can.
You avoid over-kneading. A mixer with a dough hook can over-knead dough in seconds if you walk away. Hands get tired before dough gets ruined. This built-in limit protects beginners from a common mistake.
You build gluten structure gradually. Gluten strands link together slowly as you push, fold, and turn the dough. This slower pace often produces a more even gluten network, especially for enriched doughs like brioche or cinnamon rolls.
You need no special equipment. No stand mixer, no dough hook, no outlet required. A bowl, a countertop, and your hands are enough to make bread, pizza dough, or roti.
You save on cleanup and cost. A stand mixer is a real investment, and washing a dough hook and mixing bowl takes time. Hand kneading uses fewer dishes and no appliance at all.
You connect with the process. Many bakers describe kneading as meditative. The repetitive motion of pushing and folding dough is calming, and it gives you a hands-on understanding of how bread actually comes together.
Gluten development itself is a chemical process, not just a mechanical one. According to the Institute of Food Science and Technology, glutenin and gliadin proteins in wheat flour combine with water to form gluten, and the more the dough gets mixed, the more that gluten develops, which is what makes it elastic and stretchy. Hand kneading drives this same chemistry, just at a pace you can feel and control.
How to Knead Dough by Hand

Equipment
- Large mixing bowl
- Clean countertop or large cutting board
- Bench scraper
- Kitchen towel or plastic wrap
- Small bowl (for the windowpane test)
- Loaf pan or baking sheet
Ingredients
- 500 g all-purpose or bread flour plus extra for dusting
- 320 ml warm water 105°F to 110°F
- 7 g active dry yeast or instant yeast 2 1/4 tsp
- 10 g fine salt about 2 tsp
- 1 tbsp olive oil plus more for the bowl
- 1 tsp sugar or honey
Optional
- 1 tbsp whole wheat flour
- Pinch of dried herbs
Instructions
- Activate the yeast. Pour warm water into a bowl. Stir in sugar or honey, sprinkle yeast on top, and let sit 5 to 10 minutes until foamy.

- Mix the dough. Add flour and salt to the yeast mixture. Stir until a shaggy dough forms.
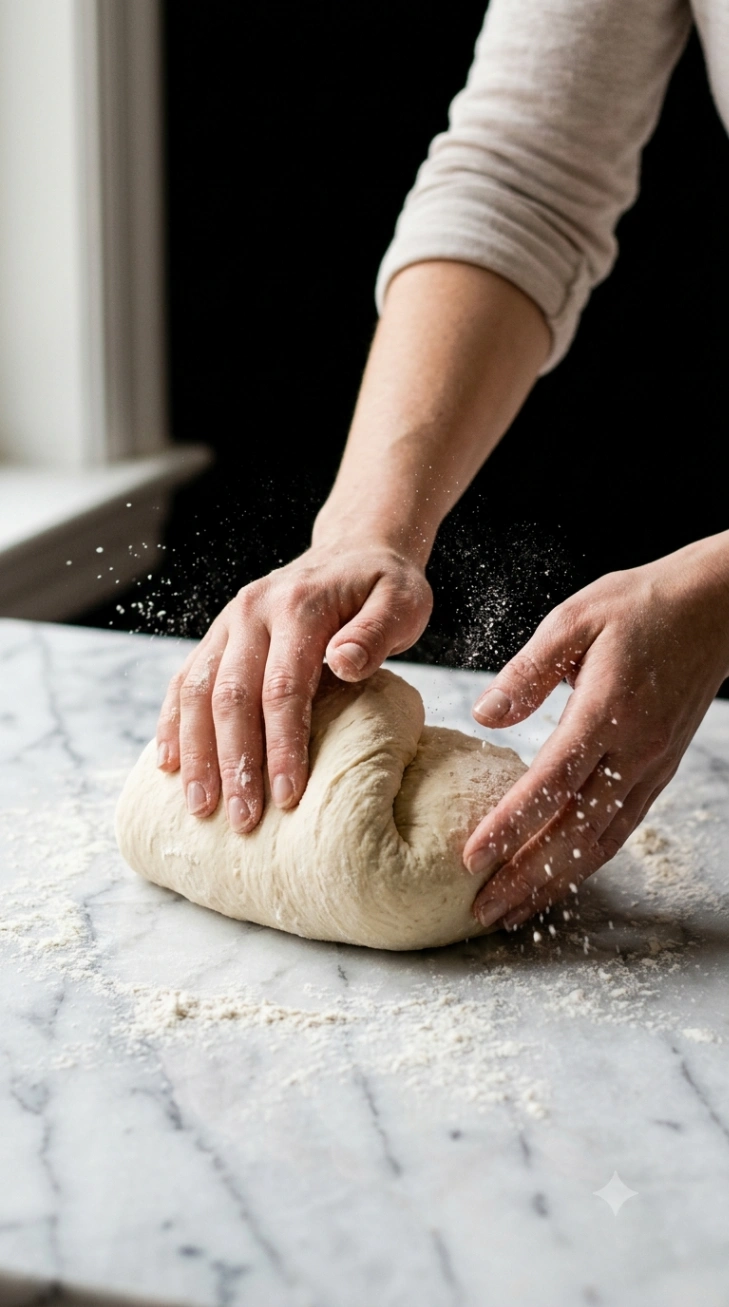
- Knead. Turn dough onto a floured counter. Push with the heel of your hand, fold the far edge back, rotate a quarter turn, and repeat for 8 to 10 minutes until smooth and elastic.
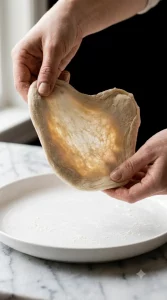
- Test gluten development. Stretch a small piece of dough thin. If light passes through without tearing, it's ready (the windowpane test).
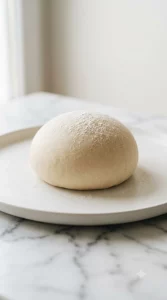
- Shape into a ball. Tuck the edges under and rotate against the counter until the surface looks tight and smooth.
- First rise. Place in an oiled bowl, cover, and let rise 1 to 1.5 hours until doubled.
- Punch down and shape. Press out the air and shape into a loaf, rolls, or pizza base. Rest 30 to 45 minutes.
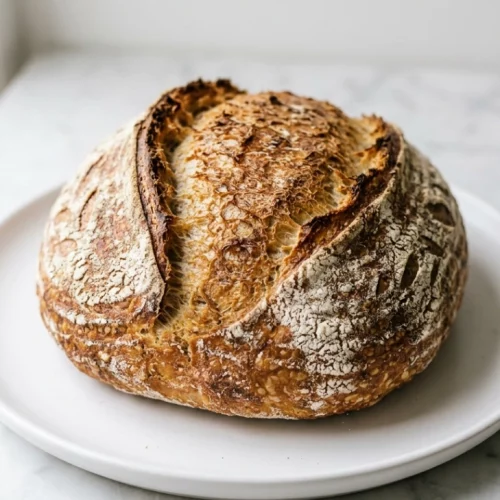
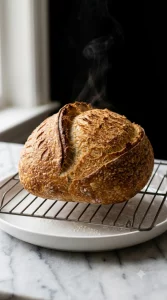
- Bake. Bake at 375°F to 425°F for 25 to 35 minutes, until golden and hollow-sounding when tapped.

Notes
- For vegan dough, swap olive oil for a neutral plant oil; the rest of the recipe is already vegan.
- For gluten free dough, use a gluten free flour blend with xanthan gum or psyllium husk. Mix and fold gently rather than kneading traditionally, since gluten free dough won’t develop stretch the same way.
- Store leftover dough-based bread in an airtight container for up to 3 days, or freeze baked loaves for up to 3 months.
Pro Tips and Variations (Including Vegan and Gluten Free)
For pizza dough: Use the same kneading method, but aim for a slightly wetter dough. Pizza dough benefits from a longer, slower first rise, sometimes overnight in the refrigerator, which develops flavor and improves the final crust.
For roti dough: Roti uses whole wheat flour and no yeast. Knead the dough for about 8 minutes until it feels soft and pliable, similar to an earlobe. Let it rest under a damp cloth for at least 20 minutes before rolling. This rest period relaxes the gluten and makes the dough easier to shape.
For sticky dough: High-hydration doughs, like ciabatta, are meant to be sticky. Instead of adding flour, try wetting your hands slightly before kneading, or use a bench scraper to fold the dough rather than fighting it with dry hands.
Vegan variation: Most basic bread and pizza doughs are already vegan, since they rely on flour, water, yeast, and salt. If your recipe calls for butter or milk, swap in a neutral oil like olive or sunflower oil, and use a plant-based milk of similar fat content. The kneading process itself does not change.
Gluten free variation: This is where technique shifts the most. Gluten free flour blends lack the gliadin and glutenin proteins that create traditional gluten, so the dough will never develop the same stretch through kneading alone. Xanthan gum or psyllium husk is typically added to mimic gluten’s binding and elastic qualities. Because gluten free dough cannot be kneaded in the traditional push-fold-rotate way, focus instead on gently mixing and folding it just until smooth. Overworking a gluten free dough will not build strength the way it does with wheat flour, so stop as soon as the ingredients are fully combined. As King Arthur Baking points out, gluten-free dough tends to be much stickier than wheat dough and needs to be shaped by hand, which is exactly why xanthan gum matters so much for holding it together during baking.
Stand mixer comparison: If you want to compare methods, a stand mixer with a dough hook can knead the same recipe in about 5 to 7 minutes on medium speed. The trade-off is less control. It is easy to walk away and over-knead dough in a mixer, while hand kneading naturally limits how far you can push it before your arms tell you to stop.
Additional Solutions and Personal Tips to Avoid Mistakes
Mistake: Adding too much flour. This is the most common error. New bakers panic when dough feels sticky and dump in extra flour to compensate. The result is dense, dry bread. Trust the process. Dough that feels tacky in the first few minutes usually smooths out on its own as gluten develops.
Mistake: Kneading too gently. Kneading is not a light massage. Use real pressure from the heel of your hand. If your dough is not changing texture after 5 minutes, you are probably not applying enough force.
Mistake: Skipping the rest period. If dough fights back and springs to its original shape every time you try to shape it, it needs rest. Cover it and walk away for 10 minutes. The gluten will relax, and shaping becomes far easier.
Mistake: Using cold ingredients. Cold water slows yeast activity and makes the dough stiffer and harder to work. Use lukewarm water, and if your kitchen is cold, let ingredients sit at room temperature for 20 minutes before mixing.
Personal tip: Keep a bench scraper nearby. It is the single most useful tool for hand kneading. Use it to lift sticky dough off the counter, clean your work surface, and divide dough into even pieces without tearing the gluten structure.
Personal tip: Set a timer instead of guessing. Most home bakers underestimate how long 8 to 10 minutes of kneading actually feels. A timer keeps you honest and prevents you from stopping too early.
Trick to Make the Recipe Better
Here is one trick that separates good bread from great bread: the autolyse method. Before adding yeast and salt, mix just the flour and water together and let the mixture rest for 20 to 30 minutes. This gives the flour time to fully hydrate and allows gluten to begin forming on its own, before you even start kneading.
Modernist Cuisine explains that mixing matters less for building gluten directly and more because it speeds up hydration, making sure water reaches every part of the flour evenly. The autolyse rest does this hydration work for you, passively. When you do begin kneading after an autolyse, you will notice the dough comes together faster and needs less active kneading time to pass the windowpane test. This trick works especially well for pizza dough and rustic bread loaves, where a strong, open crumb matters.
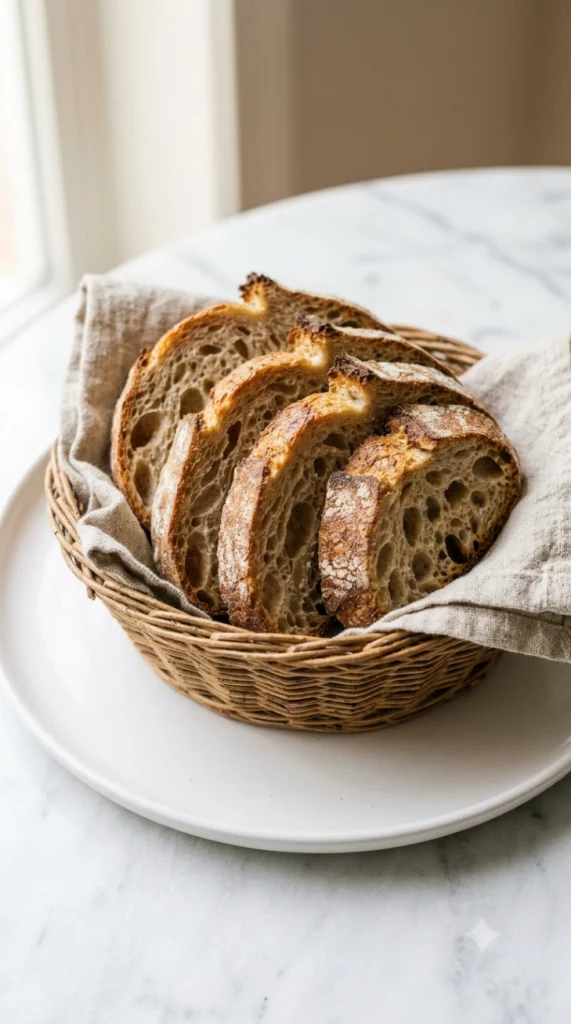
Serving Suggestions
Once your dough is baked, here are a few ways to make the most of it:
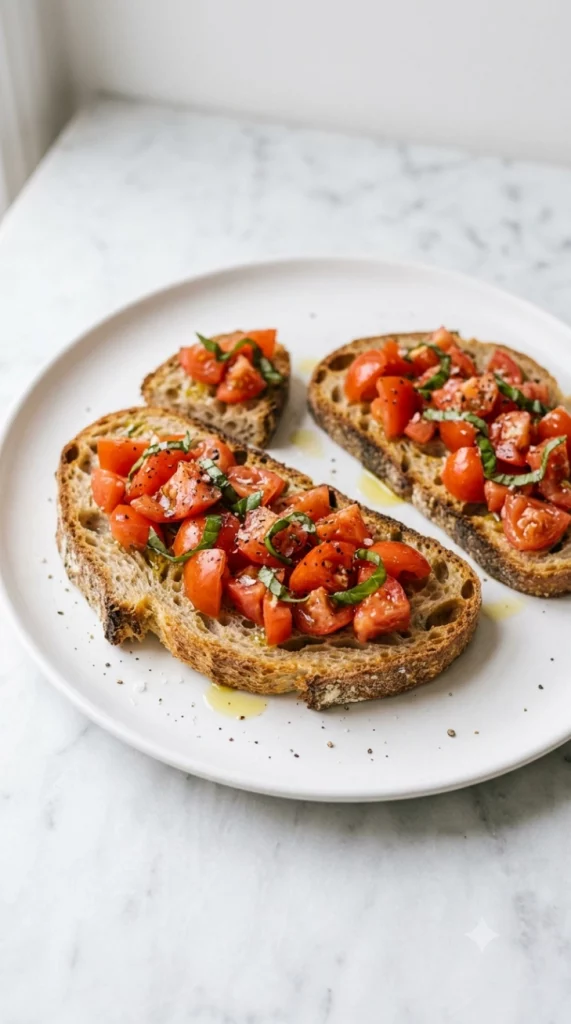
- Fresh bread: Serve warm with olive oil and a sprinkle of flaky salt, or alongside a bowl of soup for dipping.
- Pizza: Top your kneaded pizza dough with a simple tomato sauce, fresh mozzarella, and basil for a classic Margherita.
- Roti: Serve hot off the pan with a curry, dal, or a simple smear of ghee.
- Rolls: Slice and use for sandwiches, or serve as a side with roast dinners.
- Leftover bread: Turn day-old bread into croutons, breadcrumbs, or a simple bread pudding, so nothing goes to waste.

Final notes
Learning how to knead dough by hand is a skill that pays off far beyond one recipe. Once you understand how flour, water, and time work together to build gluten, you can apply that knowledge to bread, pizza, roti, and countless other doughs. The process takes practice, but it does not take special equipment or advanced training. All it takes is a bowl, a countertop, and a bit of patience while your hands do the work.
Start with the basic method in this guide, pay attention to how the dough feels as it changes, and use the windowpane test to confirm when it is ready. Over time, you will be able to judge properly kneaded dough by touch alone, without needing to check a clock or run a test. That instinct is the real reward of learning to knead by hand.
FAQs
How do you know if dough is properly kneaded? Properly kneaded dough feels smooth, elastic, and slightly tacky but not sticky. It should spring back slowly when you poke it with a finger, rather than staying dented or tearing. The windowpane test is the most reliable check: stretch a small piece of dough thin enough to see light through it. If it stretches without tearing, the gluten has developed enough.
How long does it take to knead dough by hand? Most bread and pizza doughs take 8 to 10 minutes of steady hand kneading. Enriched doughs with butter or eggs, like brioche, can take closer to 15 minutes because the fat slows gluten formation. Roti dough usually needs less time, around 6 to 8 minutes, since it does not rely on yeast for structure.
Do you knead dough before or after letting it rise? Knead the dough first, then let it rise. Kneading builds the gluten structure that traps gas produced by the yeast during fermentation. After the first rise, you gently punch down the dough to release air, then shape it. A light second knead at this stage is optional and usually brief, just enough to redistribute the dough before its final shape and second rise.
Is it possible to overwork dough by hand? Yes, though it is far less common than with a stand mixer. Over-kneaded dough by hand tends to feel tight, tough to stretch, and may start to tear rather than stretch smoothly. It can also turn slightly warm from the friction of prolonged kneading, which affects how the yeast behaves. If your dough feels stiff and resistant rather than elastic, stop kneading and let it rest for 10 minutes before shaping.
You may also like these other cooking ideas:
How to Cream Butter and Sugar Properly